Covered Chicken Run Design
Highlighted under: Authentic Global Cuisine Favorites
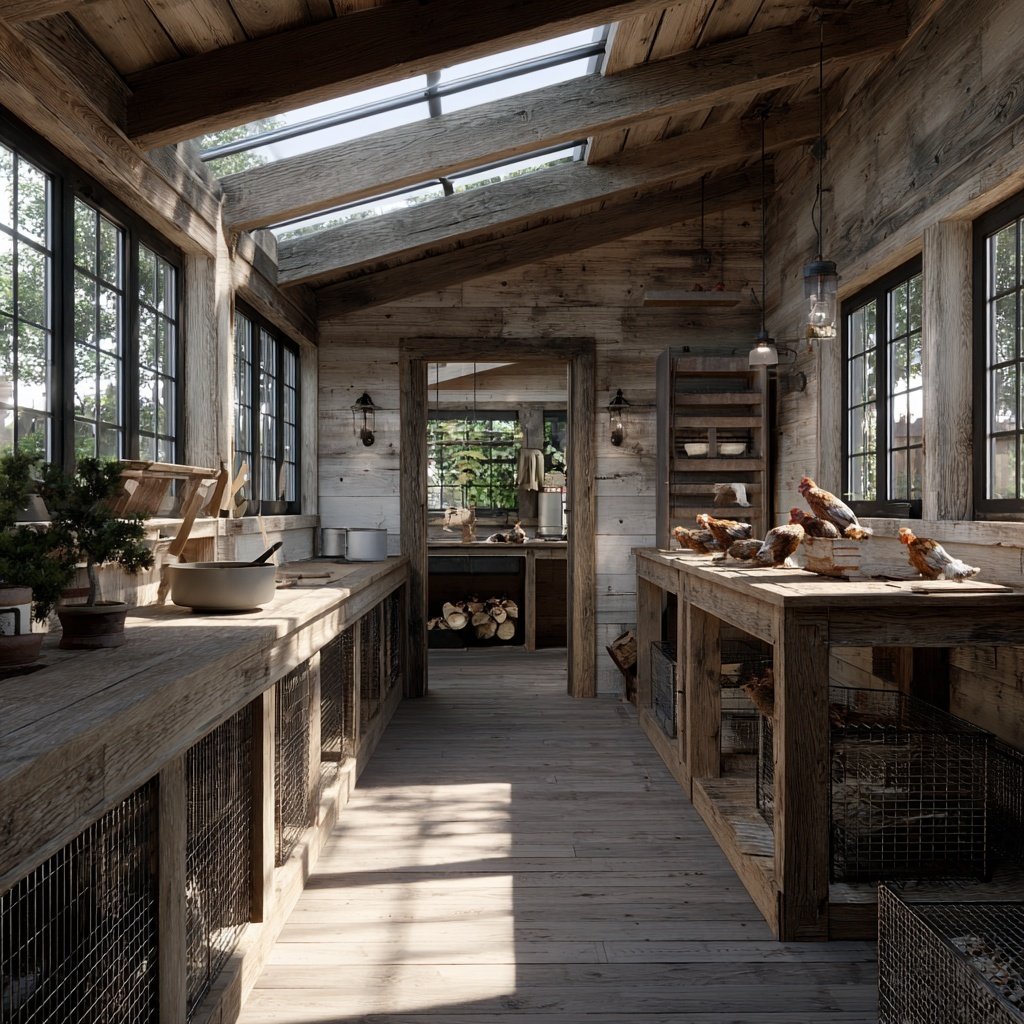
I always wanted my chickens to feel safe and secure while enjoying the outdoors, which is why I decided to design a covered chicken run. After extensive research and a few trial-and-error attempts, I finally created a design that not only protects my flock from predators but also allows for ample ventilation and sunlight. This covered run has become a favorite spot for my chickens, where they can scratch and peck freely without fear. I can’t wait to share the details of this project with you!
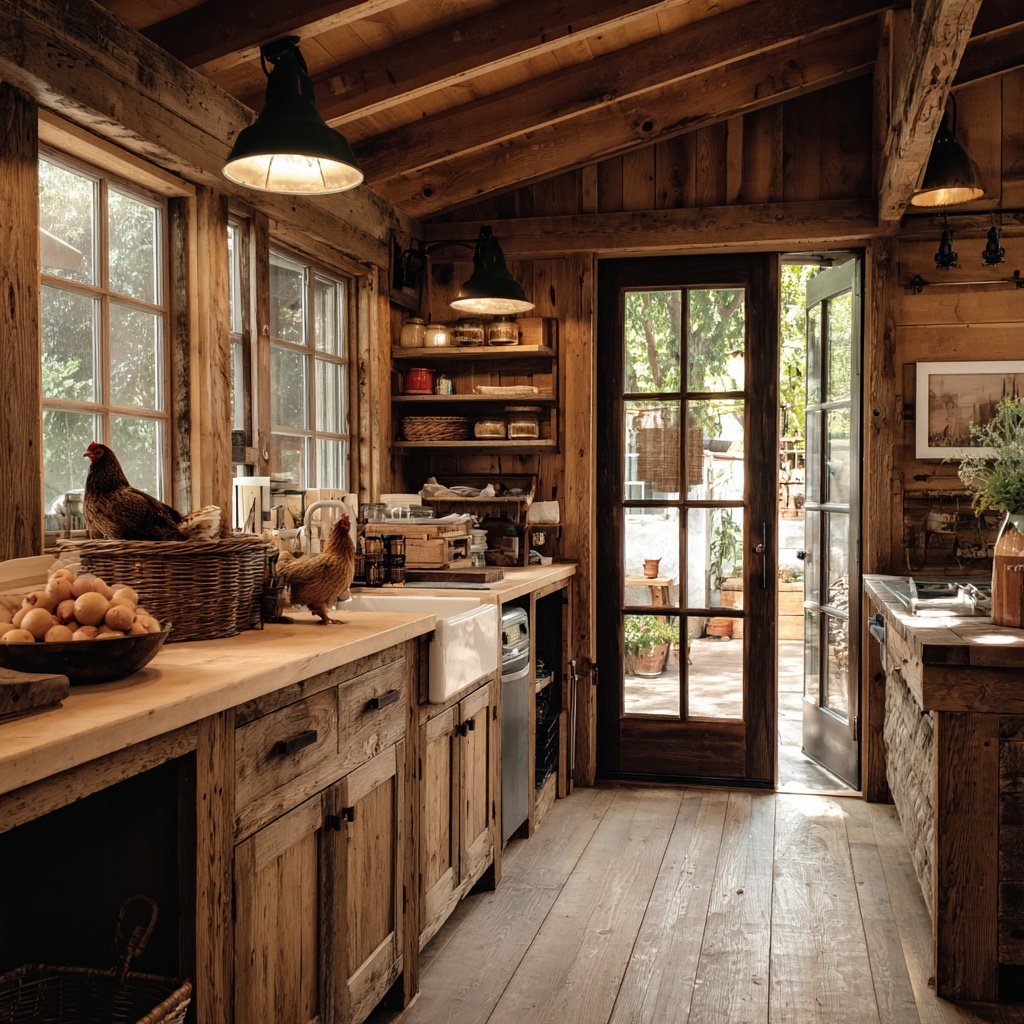
When I started building my covered chicken run, I knew I had to consider both safety and comfort for my chickens. I experimented with different materials for the roofing and walls to ensure they would withstand various weather conditions. My favorite approach was to use a combination of HDPE netting and a sturdy frame, which keeps the run light enough to move while providing ample protection.
Throughout the process, I learned that adding a few features like perches and dust baths made a significant difference in my chickens' happiness. It's exciting to watch them thrive in this spacious environment, proving that a well-designed run can enhance their lives immensely!
Why You'll Love This Design
- Provides ultimate protection from predators
- Allows for plenty of airflow and sunlight
- Encourages healthy chicken behavior and exercise
Understanding the Ingredients
When designing a covered chicken run, the choice of materials is paramount. Pressure-treated lumber is recommended because it withstands the elements and prevents rotting over time. This is vital for the longevity of the structure; otherwise, you might find yourself repairing or rebuilding sooner than expected. The HDPE netting is a great choice for the roof, as it provides excellent protection from larger predators while still allowing sunlight and air to circulate freely, which chickens thrive on.
Consider the treated plywood for the walls, as it not only creates a solid barrier against weather and predators but also offers insulation. This can help maintain a more comfortable environment for your chickens year-round. Additionally, selecting the right hinges and latches for doors enhances security; I recommend heavy-duty options to reduce the risk of break-ins. Investing in quality hardware pays off in the long run!
Building Your Run
Creating the frame is a crucial step in your chicken run project. Use a level to ensure that your rectangular frame is perfectly aligned; an uneven frame could lead to structural instability. After cutting the lumber to size, assemble the frame with screws, making sure to drive them straight for maximum hold. Once the frame is built, it should be robust enough to support the walls and roof without sagging.
While installing the plywood walls, make certain that each panel fits snugly. Secure them with screws or nails every 12 inches for enhanced durability. If you live in an area with extreme weather, reinforcement may be necessary. Finally, when adding concrete blocks for the base, ensure they are set firmly into the ground to deter digging predators effectively. This provides a secure foundation and gives peace of mind.
Finalizing the Setup
After securing the base, focus on the finishing touches that create a comfortable space for your chickens. Installing doors with sturdy hinges and reliable latches allows for easy access while keeping your flock safe. I also recommend checking the fit of the doors carefully; gaps can provide an entry point for unwanted guests.
Enhancing the environment with perches will promote natural behavior in your chickens. They enjoy roosting, and adding levels in your run can help encourage exercise and reduce boredom. Consider including nesting areas with ample bedding, as this will not only allow for nesting but can also serve as a cozy retreat for them to escape the elements.
Ingredients
The materials you'll need to build your covered chicken run include:
Materials
- Pressure-treated lumber for framing
- HDPE netting for the roof
- Treated plywood for walls
- Hinges and latches for doors
- Concrete blocks for foundation
- Screws and nails
- Paint or sealant for weatherproofing
Gathering the right materials is crucial for a durable chicken run. Make sure to choose weather-resistant options!
Instructions
Follow these steps to create your covered chicken run:
Create the Frame
Start by cutting the pressure-treated lumber to size and build a rectangular frame to the desired dimensions, ensuring it's large enough for your flock.
Install the Walls
Attach the treated plywood to the frame, creating sturdy walls that will protect your chickens from the elements and predators.
Add the Roof
Using the HDPE netting, cover the top of the run to allow sun and air through while keeping out birds of prey and other larger predators.
Secure the Base
Place concrete blocks around the perimeter to prevent digging underneath. This is crucial for stopping persistent predators!
Finishing Touches
Add doors with hinges and latches for easy access, and consider additional features like perches or nesting areas for your chickens.
Once you complete these steps, your covered chicken run will be ready for your feathered friends!
Pro Tips
- When designing your chicken run, think about shade and shelter as well as ventilation. Chickens thrive best in environments where they can stay cool during hot days and warm during cooler nights.
Maintenance Tips
Regular maintenance of your covered chicken run is crucial for its longevity and the well-being of your chickens. Inspect the structure frequently for any loose boards or signs of wear, especially the netting. An annual coat of weatherproof paint or sealant can help keep the materials safe from deterioration. Trim any overhanging branches that might pose a risk to the run's integrity or allow predators to gain too close a vantage point.
Cleaning your run is another essential aspect of maintenance. Regularly remove droppings and debris to prevent the buildup of harmful bacteria and odors. I find it helpful to use a rake and a shovel for this task, and try to do it at least once a week. If you have mud or wet areas, consider adding straw or sand to absorb moisture.
Adapting for Seasonal Changes
Your covered chicken run may require adaptations with the changing seasons. In winter, ensure that there is adequate protection from harsh winds. Adding a windbreak using plywood or additional netting on the windy side can help maintain warmth. Conversely, in summer, consider shading parts of the run with canvas or tarps to protect your chickens from extreme heat while keeping proper airflow. Fresh water should always be available, as chickens can become dehydrated quickly in the heat.
In preparation for the fall, ensure that leaf litter doesn't accumulate around the run, as this can attract pests. If possible, add a dust bath area for your chickens that can help keep them clean and free of mites. This can be a simple mix of sand and dirt that they can enjoy rolling in, ensuring their feathers remain healthy.
Questions About Recipes
→ How big should my chicken run be?
A general rule is to allow at least 10 square feet of space per chicken to ensure they have enough room to roam and exercise.
→ What materials are best for a chicken run?
Using pressure-treated lumber and HDPE netting provides durability and safety. Make sure all materials are safe for chickens!
→ Can I keep my chickens in the run full-time?
While it's fine for short periods, chickens should also have access to free-ranging outdoors whenever possible for their health.
→ How do I clean the chicken run?
Regularly remove waste and old bedding, and wash surfaces with a mild bleach solution to keep things hygienic.
Covered Chicken Run Design
Created by: Ottoline Reeves
Recipe Type: Authentic Global Cuisine Favorites
Skill Level: Intermediate
Final Quantity: 1 unit
What You'll Need
Materials
- Pressure-treated lumber for framing
- HDPE netting for the roof
- Treated plywood for walls
- Hinges and latches for doors
- Concrete blocks for foundation
- Screws and nails
- Paint or sealant for weatherproofing
How-To Steps
Start by cutting the pressure-treated lumber to size and build a rectangular frame to the desired dimensions, ensuring it's large enough for your flock.
Attach the treated plywood to the frame, creating sturdy walls that will protect your chickens from the elements and predators.
Using the HDPE netting, cover the top of the run to allow sun and air through while keeping out birds of prey and other larger predators.
Place concrete blocks around the perimeter to prevent digging underneath. This is crucial for stopping persistent predators!
Add doors with hinges and latches for easy access, and consider additional features like perches or nesting areas for your chickens.
Extra Tips
- When designing your chicken run, think about shade and shelter as well as ventilation. Chickens thrive best in environments where they can stay cool during hot days and warm during cooler nights.
Nutritional Breakdown (Per Serving)
- Calories: 0 kcal
- Total Fat: 0g
- Saturated Fat: 0g
- Cholesterol: 0mg
- Sodium: 0mg
- Total Carbohydrates: 0g
- Dietary Fiber: 0g
- Sugars: 0g
- Protein: 0g